WINSXS folder cleanup
Ever since the release of Windows Vista, Microsoft began storing windows updates in a folder named Winsxs. Many of us can remember with XP and Windows Server 2003 when the Windows updates were stored in long GUID looking folders in the root of the Windows directory. Once in a while you’d go in there and just delete the folders to free up some disk space. However, with Windows 7, you can’t just go in the Winsxs folder and start deleting stuff, unless of course you want to completely hose your computer and reinstall Windows. Fortunately there are ways to perform a WINSXS folder cleanup in Windows 7 and more importantly in Windows Server 2008 R2. Happy cleaning!
Windows 7
The Windows Update Cleanup feature is built into Windows 7 so it is pretty easy.
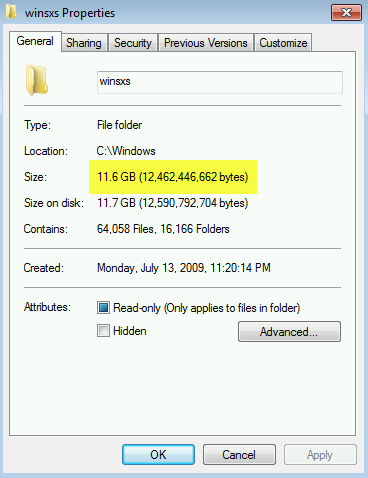
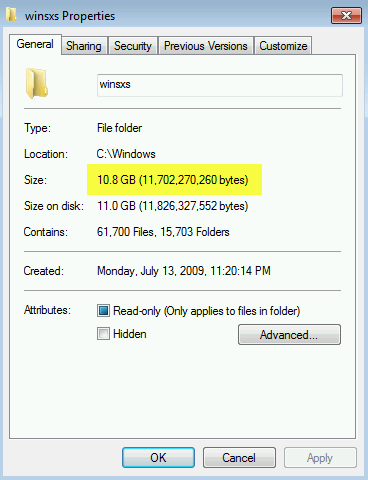
- Navigate to the C:\Windows\Winsxs folder and right-click it and select Properties. Make note of the size of the folder

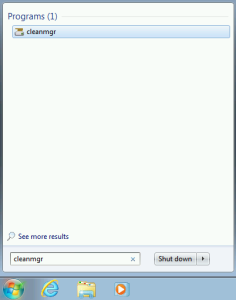
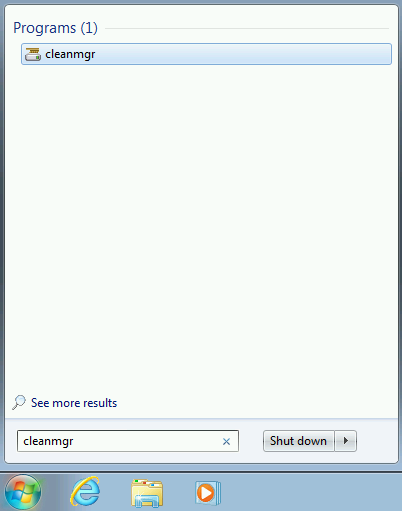
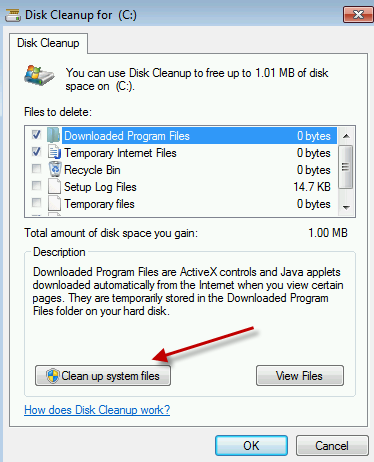
- Select Start, Run, and then type Cleanmgr. Click on Cleanmgr to run it
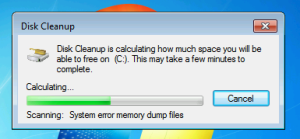
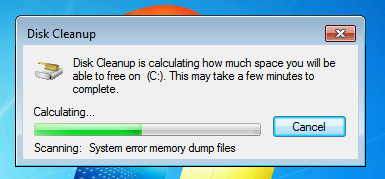
- Cleanmgr will scan the C:\ partition
- If you have multiple partitions (i.e C:\ and D:\ drives) you will need to select the drive you want to clean. If so, select the C:\
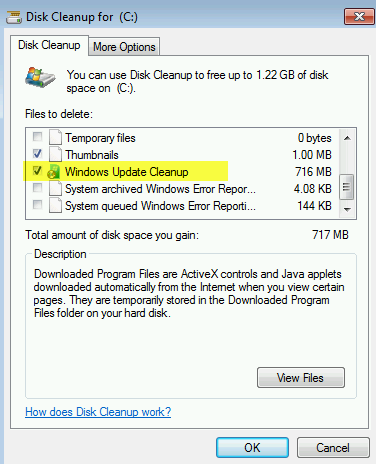
- Look for Windows Update Cleanup, if you don’t see it, select the System Files button
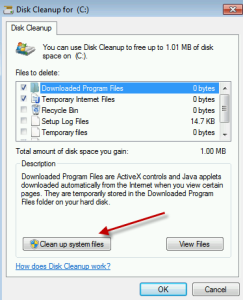
- Cleanmgr will re-scan the C:\ partition, you will now notice the Windows Update Cleanup feature along with how much disk space will be freed up. Make sure the checkbox is selected

- Once the cleanup is finished, you will need to manually reboot the computer for space to be freed up. It will not ask you to reboot
- Navigate to the C:\Windows\Winsxs folder and right-click it and select Properties. Notice the size of the folder has shrunk


Windows Server 2008 R2
- Make sure KB2852386 is installed on the server. This will require a reboot
- Install feature the Desktop Experience Feature, will need the Ink Support sub-feature
- This will perform a double-reboot
- Navigate to the C:\Windows\Winsxs folder and right-click it and select Properties. Make note of the size of the folder
- Once the server is back up, Start, Run, Cleanmgr
- If you have multiple partitions (i.e C:\ and D:\ drives) you will need to select the drive you want to clean. If so, select the C:\
- Look for Windows Update Cleanup, if you don’t see it, select the System Files button
- Cleanmgr will re-scan the C:\ partition, you will now notice the Windows Update Cleanup feature along with how much disk space will be freed up. Make sure the checkbox is selected
- Once the cleanup is finished, you will need to manually reboot the computer for space to be freed up. It will not ask you to reboot
- Navigate to the C:\Windows\Winsxs folder and right-click it and select Properties. Notice the size of the folder has shrunk