Backup computers for free in ONE Step
If you want to back up computers for FREE in ONE STEP, then please read on. Backing up your computer is one of those things that we all know we should do on a regular basis but never seem to get around to it. Maybe it’s too cumbersome to dig out your external USB hard driveand plug it into your computer and then find and copy all your important data. You’d rather be watching YouTube or Netflix or surfing the web. But what if I told you that backing up your entire computer can be as easy as plugging in a USB hard drive and that’s it. No copying files, no searching for data, no opening programs, no nothing. You can even watch your funny animal video or chat on Facebook while the backup automatically runs in the background.
We’ve written about the importance of backing up your data before. But now, it has become so easy and inexpensive to do, there really is no excuse. Introducing Veeam Endpoint Backup FREE. The software is 100% completely free with no strings attached. Veeam is a software company best known for its enterprise backup and recovery software called Veeam Backup and Replication. This software provides fast backup and recovery of Hyper-V and VMware virtualized environments. I have been using the enterprise software for many years and I can tell you that it is extremely reliable and very affordable for any business. However, this isn’t about your business, it’s about backup up your personal computer.
If you have a Windows desktop or laptop then download Veeam Endpoint Backup FREE and install it on your computer.
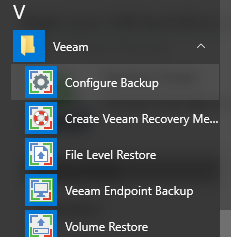
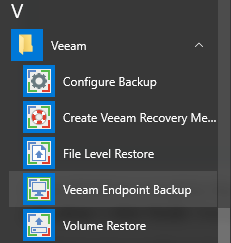
Plugin your USB hard drive or backup device and open the Veeam folder and select Configure Backup.
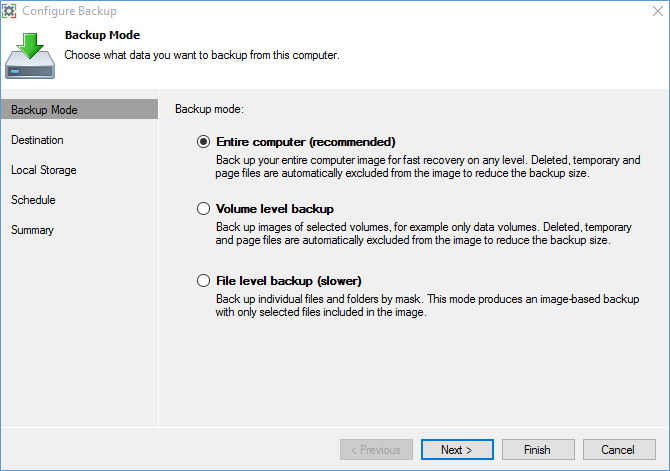
I recommend always selecting Backup mode: Entire Computer. This will take a snapshot image of your entire hard drive. You won’t have to worry about picking and choosing what you want to backup. Also, if a disaster happens and you need to restore, then you can restore this backup image and be back up and running in no time. Select Next to continue.
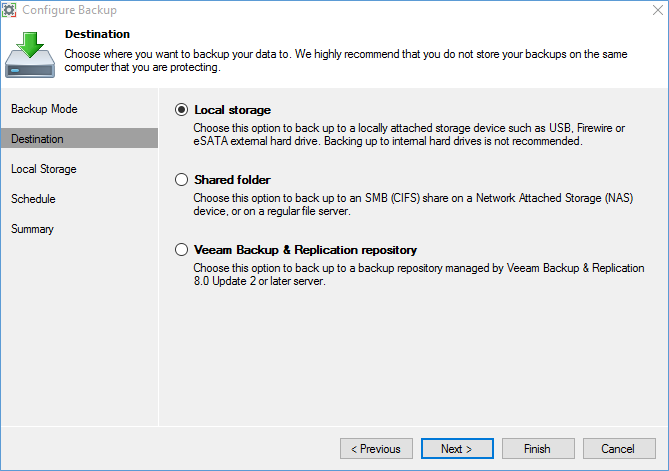
Select Local Storage to back up to a USB hard drive or some other external media. If you are a home user, this is the option you will most likely choose. Select Next to continue.
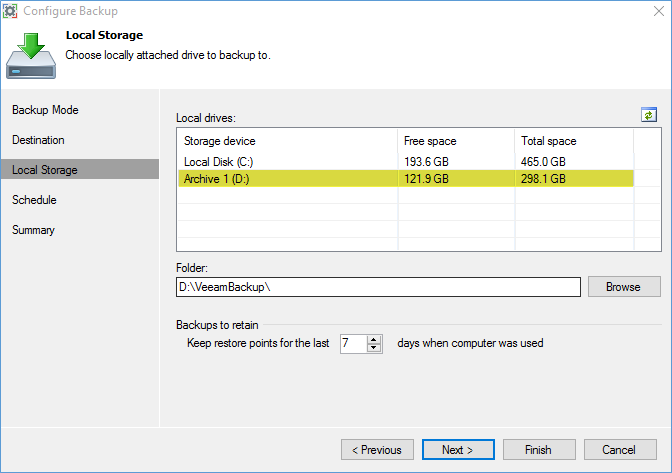
On the Local Storage screen, select then your USB external drive. In the example above, the external drive is Archive 1 (D:). The default value for Backups to Retain is 14. I’ve selected 7. It is entirely up to you how many backups you want to keep. Just make sure your external hard drive has the necessary disk space to keep all your backup copies. It is also worth noting here that Veeam Endpoint does “incremental” backups after the first FULL backup. This uses up considerably less disk space on your external USB hard drive.
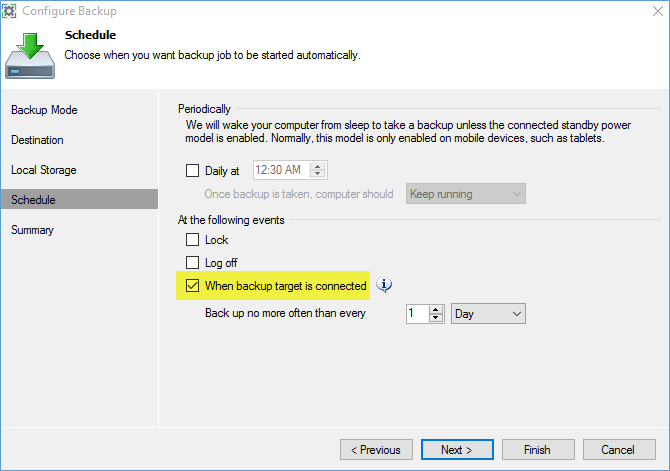
Now it’s time to schedule your backup job. If you want to automatically backup your computer every time you plug in your USB external hard drive, then select the checkbox “When backup target is connected”. Uncheck everything else. You can also select how often you’d like to back up your computer. In the above example, I chose 1 Day. This basically configures Veeam to back up my computer EACH TIME I connect my USB external drive to my computer. Select Next to continue.
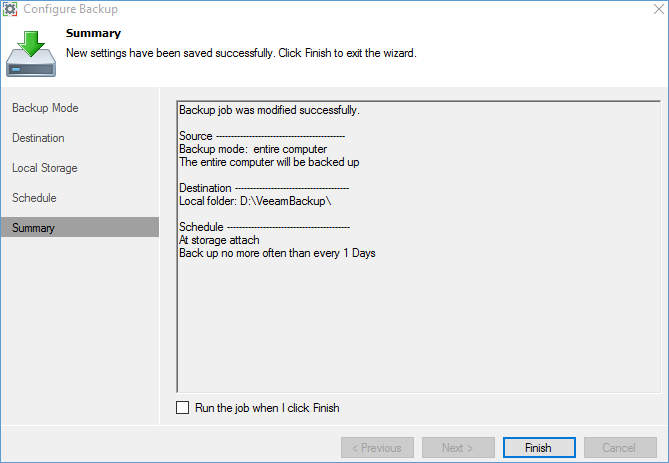
Select Finish to complete the configuration of your backup job. If you want to run the backup right away, then you can select the Run the job when I click Finish checkbox.
You have now configured your backup. At this point, I would reboot your computer and log back in just to start fresh and make sure everything works accordingly. Plugin in your USB external drive. After a few moments, Veeam will automatically start the backup job in the background. If you want to view the progress, open the Veeam folder and select, Veeam Endpoint Backup.
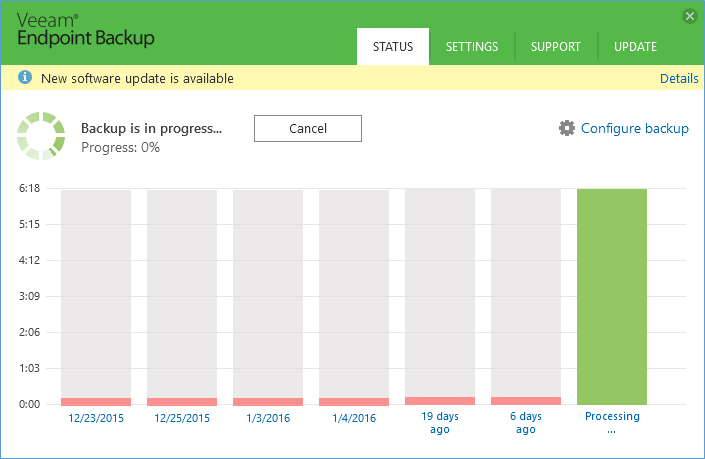
In the Status tab, you can view the status of your backup.
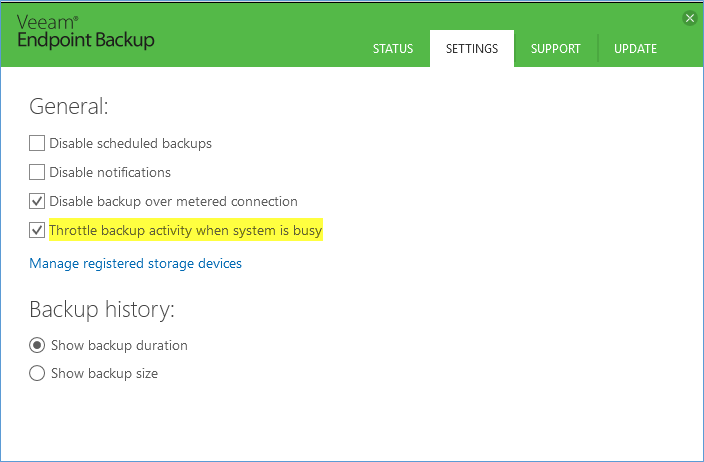
Select the Settings tab, you will note a few preference settings. The important one here is the Throttle backup activity when system is busy checkbox. This will allow you to work on your computer while the backup is running in the background. This setting is checked by default.
That’s it! From now on, all you have to do to run a FULL COMPLETE backup of your entire computer is to plugin in your external USB hard drive.
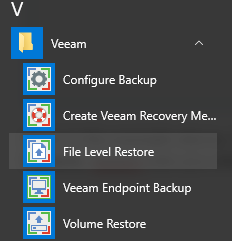
Now let’s say you accidently deleted some files or perhaps a portion of your hard drive got corrupted and now you have some files that you can no longer access. To restore individual files from your backup, open the Veeam folder and select File Level Restore.
The first time you do a backup, it will take a long time because Veeam Endpoint has to perform a FULL backup. However, after that initial backup job, Veeam Endpoint will perform incremental backups. This means it will only backup the changes made since the last FULL backup. This reduces the length of time it takes to back up your computer dramatically. If also frees up resources on your computer since the backup take a lot less time to back up.
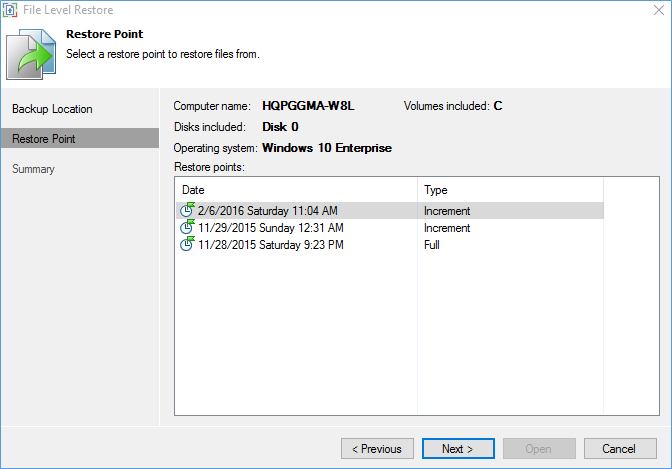
Note in the example above, I have a FULL back up from 11/28/15 and two incremental backups after that. The program asks you what restore point would you like to use.
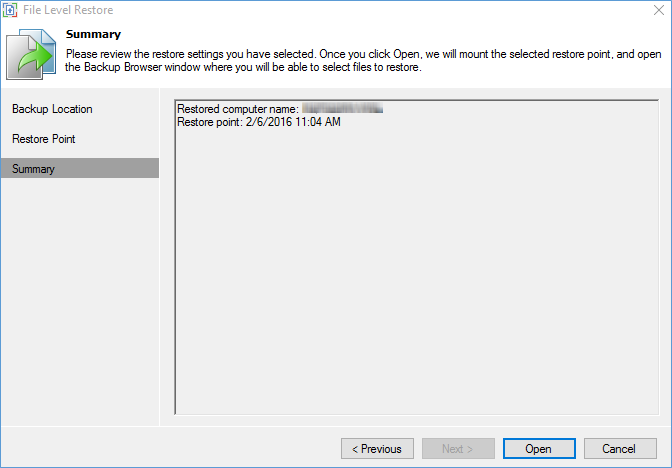
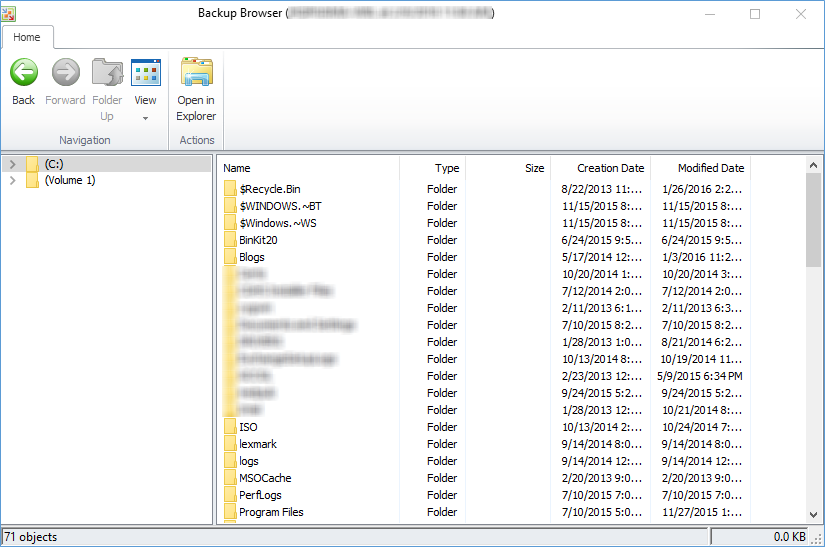
Select Open on the Summary window to open explorer type window which will allow you to browse the folder structure of your computer and restore any files or folders that you wish.
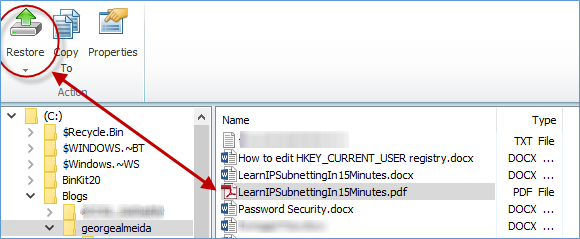
At this point, all you need to do is browse to the file or folders you want to restore, select them and press the Restore or Copy To button.
It just doesn’t get any easier than this. In a future post we will show you how to create a Veeam Backup Recovery Media and restore your entire hard drive in the case of a catastrophic hard drive failure. Seriously, what are you waiting for, go out and download Veeam Endpoint Backup FREE now. I do not receive any commission for recommending this product, besides it’s FREE! All I ask is that if you like what you’ve read, share it with your friends and colleagues, leave a comment below or sign up for our FREE newsletter. Thank you!