How to AutoSave Word documents
It has been a while since I posted a short simple How-To for non-computer literate folks like my kids. One of the most basic things anyone should always do is to set or at least check, are the autosave settings on their office documents. This post is dedicated to my oldest daughter who, on more than one occasion, has lost tons of content after hours of writing even after I’ve warned her about saving her documents every few minutes. This post will specifically reference how to autosave Word 2007 and Word 2010 documents.
By default, the autosave feature is enabled and set to autosave every 10 minutes. Below are the steps to review or change the settings and where to find those saved documents when your laptop runs out of battery right during your writing zone.
Word 2007
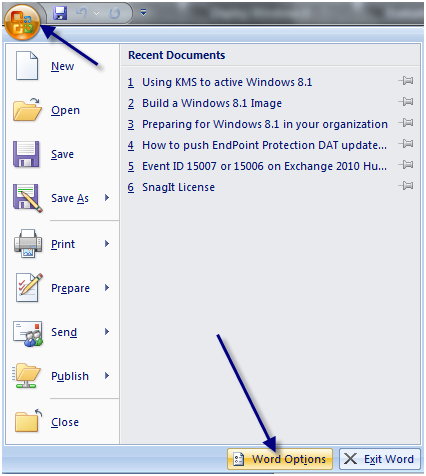
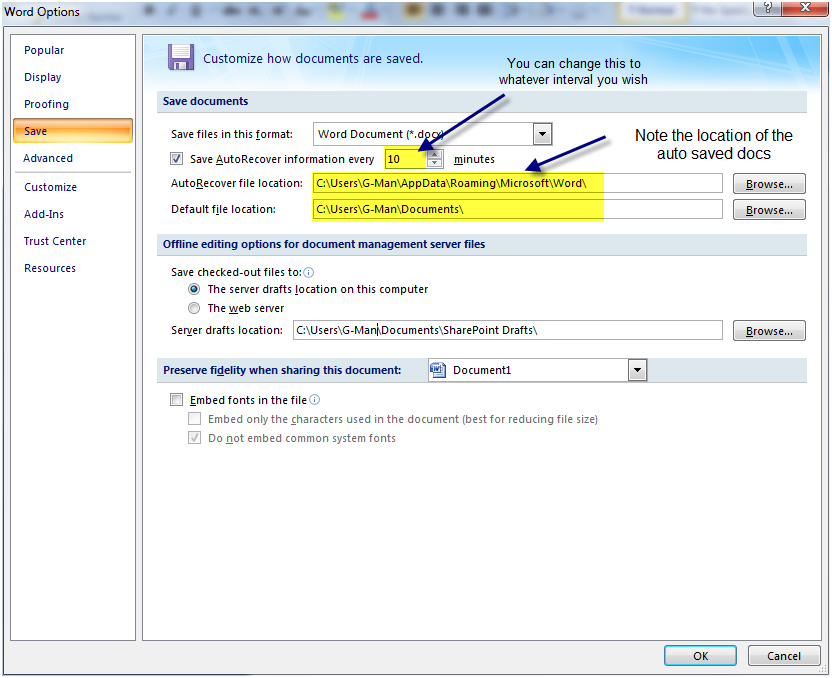
1. In Word 2007, select the Office Button and then Word Options
2. Select Save on the left side of the screen. Note the AutoRecover interval and the location of the auto-saved documents.
Word 2010
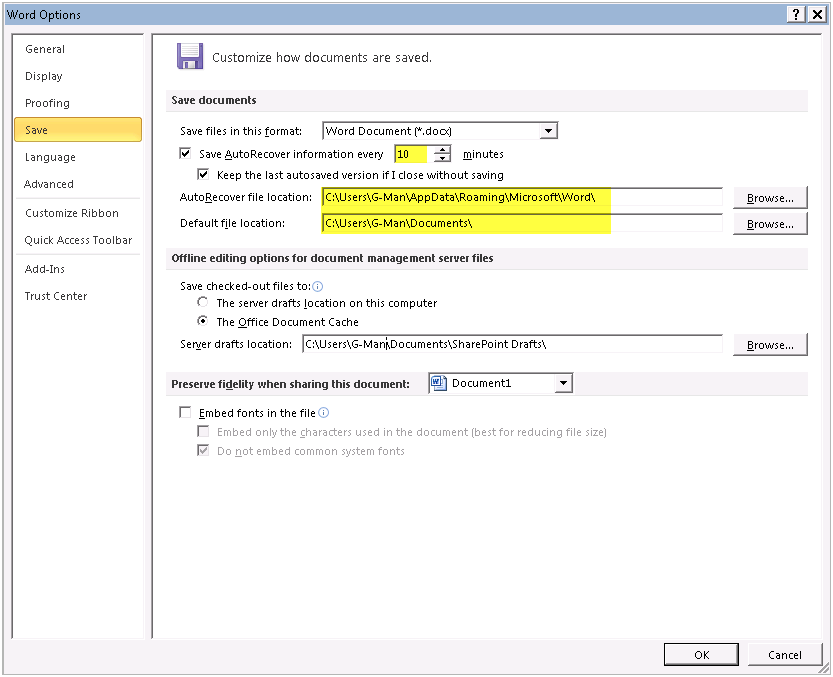
1. In Word 2010, select File and then Options

2. Select Save on the left side of the screen. Note the AutoRecover interval and the location of the auto-saved documents.